In our last column, Warwick Williams shared his tips to help cruise passengers take the best pictures in exotic locations. This week: mastering food photography. Over the next few months, Warwick Williams will be sharing his photography tips.
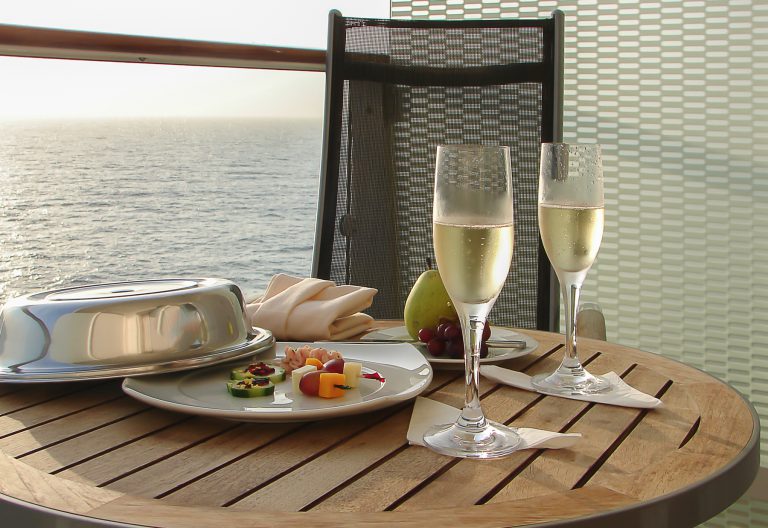
Cruise ships are an incredible place to find culinary delights.
But taking the perfect food shot so it’s ‘Instagrammable’ and acceptable for social media can be difficult, especially when lighting in the dining rooms might not be good enough.
Unless you are a dedicated food photographer it is highly unlikely you’ll be carrying multiple lights, reflectors, diffusers, etc. for that perfect shot, but there are some things you can do to make your pictures better than the typical boring phone shot.
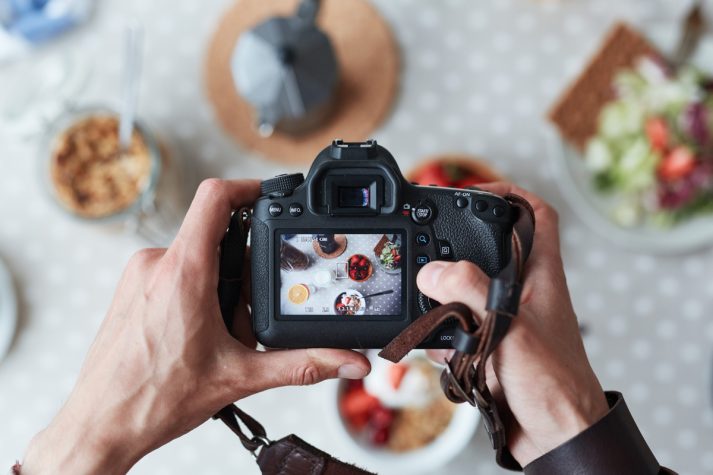
Always consider what is appealing about the food. Some dishes look best when shot from right in front while others are best when photographed from directly above the table. Be prepared to use implements on hand. Those battery-operated candles that often appear on dinner tables can be moved behind a jelly to make it glow.
When shooting from the front, always keep the background in mind. Used eating utensils and stray hands and arms aren’t always complimentary to an image. It only take s few seconds to move a table number out of the way clear away some bread crumbs or politely ask someone to reposition themselves for a few seconds.
If your camera’s flash is making your picture look too bland try softening it by turning down its power or by placing a tissue or serviette over the flash head. You could switch off the flash or try using napkin as a reflector to angle an alternative light source towards your subject – dare I say, like the light in your phone?
On those occasions when you are right next to a bright window try closing the curtains a little or hold a diffusor like a table napkin between the window and your table if the light is too bright – though you might need the services of a willing helper.
Professional food photographers often use table implements, etc. that create leading lines and layers to lead the viewers’ eyes to the main subject. You can do the same. Position a spoon to direct attention to a bowl of ice cream rather than just snapping a picture of a bowl of ice cream on its own.
And don’t forget depth of field. Choosing the correct aperture to give your photo the right clarity and background detail is important too. Change aperture settings to alter the emphasis of your shot; a small aperture to have everything in focus or a large aperture to blur the background.
Where possible choose a lens that doesn’t distort the subject. 50mm on a full frame camera or 35mm on an APSC sensored camera is generally best and if you only have a zoom lens, zoom in to achieve the right focal length. Of course sometimes you have to use what you have so if a wide-angle lens is all that you have, take the shot!
Just as the rule of thirds applies to portrait and landscape pictures so it still applies to food shots as well. For the uninitiated this is the compositional method of dividing your frame into three parts horizontally and vertically. Place the key subject matter along one of the imaginary lines or at the intersecting points of the lines to produce an image that is well-balanced and interesting.
Food photography doesn’t have to be all about still life. Why not capture the pouring of a glass of wine or your waiter serving a special dish. There are great memories sharing meal so why not save them.
New Fujifilm cameras like the XF10 have “Rich & Fine,” mode, perfect for food photography that will emphasize the subject by providing brighter and more vivid colour at the centre of the image and slight shadow at the corners. This just makes shooting food a little bit easier.
Related Posts
-

Thinking about booking your next cruise? Now is the perfect time to get those cruise deals. Finding the best deals isn't as hard as you think – all it takes…
-
Luxury small-ship line Ponant has unveiled its 2025 European Collection, showcasing the region's hidden gems and must-visit destinations.
-
‘Senior cruiser’ is a broad term for the over-55s that does not apply to everyone in the same way.
-
When retirees Robert and Evie Gareb get onboard Celebrity Edge for a 4-night, Sydney to Hobart cruise on 2 November, they will sailing their 117th voyage.

")